Creating the ATAT database requires a separate connection to one of the
default Postgres databases, like `postgres`. This updates the scripts
and secrets-tool command to handle creating the database. It also
removes database creation from Terraform and updates the documentation.
13 KiB
ATAT Terraform
Welcome! You've found the ATAT IaC configurations.
ATAT is configured using terraform and a wrapper script called secrets-tool. With terraform we can configure infrastructure in a programatic way and ensure consistency across environments.
Directory Structure
modules/ - Terraform modules. These are modules that can be re-used for multiple environments.
providers/ - Specific environment configurations. (dev,production, etc)
Setup
Install the following requirements.
I highly recommend tfenv which will help you manage versions of TF and install new ones as needed. It gives you the ability to switch back and forth between versions as necessary, especially when doing upgrades and managing multiple environments. Think of it like pyenv.
Python is required for the secrets-tool. It is used to wrap terraform and pass secrets in to terraform from Azure KeyVault. This approach avoids leaving secrets on the filesystem in any way and allow for restricting access to secrets to specific operators.
Azure CLI is necessary for creating some intial resources, but is also used by the Python Azure SDK to make calls in some cases.
Requirements:
- tfenv
- Python 3.7
- Python pip
- Python virtualenv # FIXME: Switch to
pipenv - azure cli
- powershell See below
tfenv
tfenv will allow you to install TF versions. For example.
tfenv install 0.12.18
0.12.18 at time of writing
To select a version to use
tfenv use 0.12.18
Powershell
Some things you need to use powershell. Specifically getting client profiles for the VPN.
Install powershell on Linux
Powershell on recent versions of Ubuntu is available through snap.
For Ubuntu 19.10
snap install powershell --classic
Preview Features
To create all the resources we need for this environment we'll need to enable some Preview features.
This registers the specific feature for SystemAssigned principals
az feature register --namespace Microsoft.ContainerService --name MSIPreview
az feature register --namespace Microsoft.ContainerService --name NodePublicIPPreview
To apply the registration, run the following
az provider register -n Microsoft.ContainerService
Running Terraform
First, you'll need to log in to Azure. With the Azure CLI installed, you can run the following.
az login
Next, you'll need to initialize the environment. This process pulls down the terraform provider module from github as well as pulls in the modules that will be used by this provider/environment setup.
cd providers/dev/
terraform init
Once initialized, you can run a plan. A plan compares the terraform definitions you have configured in the provider directory (Ex. providers/dev) with what is in the shared state file in the Azure Object Storage (which all providers are currently configured for). This then also compares it to the state of the services which are running in Azure.
If nothing has been applied, you'll see all the resources defined in terraform as all new with a + next to the resource name. If the resource exists, but has changed, you'll see a ~ next to the resource and the delta of the change to be applied.
If you're plan looks good, you can run the apply.
terraform apply
Check the output for errors. Sometimes the syntax is valid, but some of the configuration may be wrong and only rejected by the Azure API at run time. If this is the case, fix your mistake, and re-run.
After running TF (Manual Steps)
VM Scale Set
After running terraform, we need to make a manual change to the VM Scale Set that is used in the kubernetes. Terraform has a bug that is not applying this as of v1.40 of the azurerm provider.
In order to get the SystemAssigned identity to be set, it needs to be set manually in the console.
Navigate to the VM Scale Set for the k8s cluster you're managing (in the console).
 Just click the
 Status to On
KeyVault Policy
There is a bug (missing feature really) in the azurerm terraform provider which exposes the wrong object_id/principal_id in the azurerm_kubernetes_cluster output. The id that it exposes is the object_id of the cluster itself, and not the Virtual Machine Scale Set SystemAssigned identity. This needs to be updated manually after running terraform for the first time.
To update, just edit the keyvault.tf. Set the principal_id to the object_id of the Virtual Machine Scale set. This can be found in the Azure portal, or via cli.
az vmss list
In that list, find the scale set for the k8s cluster you're working on. You'll want the value of principal_id.
The error looks like the following
  Warning  FailedMount  8s (x6 over 25s)   kubelet, aks-default-54410534-vmss000001  MountVolume.SetUp failed for volume "flask-secret" : mount command failed, status: Failure, reason: /etc/kubernetes/volumeplugins/azure~kv/azurekeyvault-flex
volume failed, Access denied. Caller was not found on any access policy. r nCaller: appid=e6651156-7127-432d-9617-4425177c48f1;oid=f9bcbe58-8b73-4957-aee2-133dc3e58063;numgroups=0;iss=https://sts.windows.net/b5ab0e1e-09f8-4258-afb7-fb17654bc5
b3/ r nVault: cloudzero-dev-keyvault;location=eastus2 InnerError={code:AccessDenied}
Final configuration will look like this. keyvault.tf
module "keyvault" {
  source       = "../../modules/keyvault"
  name         = var.name
  region       = var.region
  owner        = var.owner
  environment  = var.environment
  tenant_id    = var.tenant_id
  principal_id = "f9bcbe58-8b73-4957-aee2-133dc3e58063"
}
Setting the Redis key in KeyVault
Redis auth is provided by a simple key that is randomly generated by Azure. This is a simple task for secrets-tool.
First, get the key from the portal. You can navigate to the redis cluster, and click on either "Show Keys", or "Access Keys"
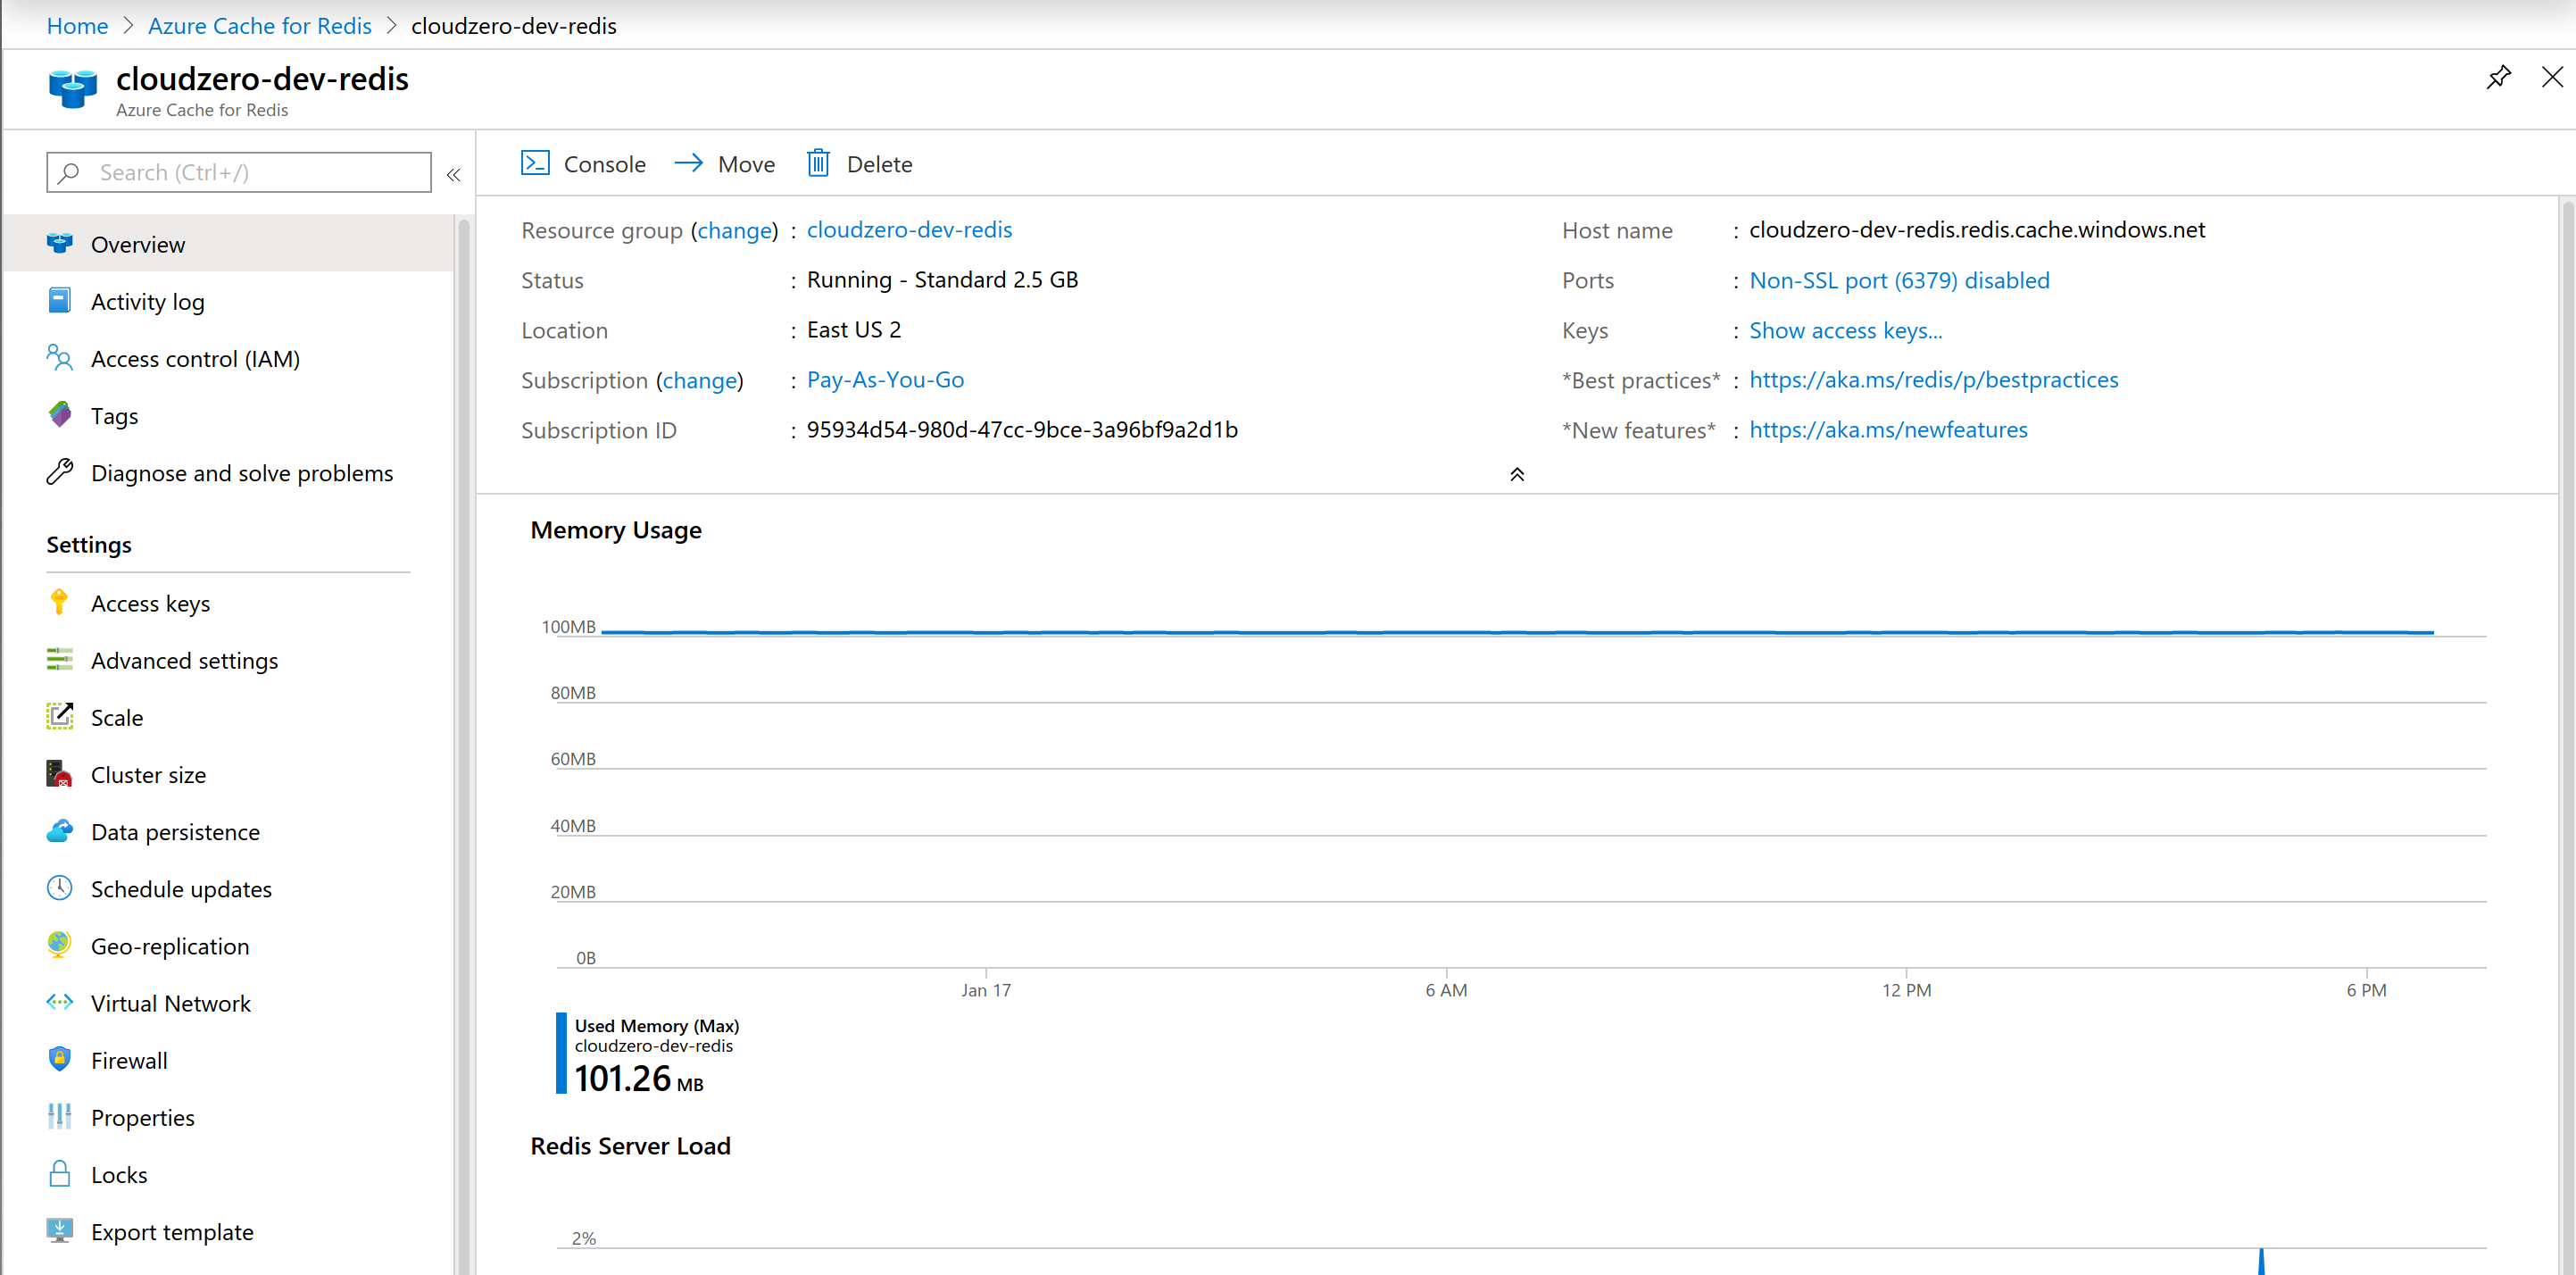
In order to set the secret, make sure you specify the keyvault that is used by the application. In dev, its simply called "keyvault", where the operator keyvault has a different name.
secrets-tool secrets --keyvault https://cloudzero-dev-keyvault.vault.azure.net/ create --key REDIS-PASSWORD --value "<redis key>"
You'll see output similar to the following if it was successful
2020-01-17 14:04:42,996 - utils.keyvault.secrets - DEBUG - Set value for key: REDIS-PASSWORD
Setting the Azure Storage Key
Azure storage is very similar to how Redis has a generated key. This generated key is what is used at the time of writing this doc.
Grab the key from the "Access Keys" tab on the cloud storage bucket

Now create the secret in KeyVault. This secret should also be in the application specific KeyVault.
secrets-tool secrets --keyvault https://cloudzero-dev-keyvault.vault.azure.net/ create --key AZURE-STORAGE-KEY --value "<storage key>"
You'll see output similar to the following if it was successful
2020-01-17 14:14:59,426 - utils.keyvault.secrets - DEBUG - Set value for key: AZURE-STORAGE-KEY
Shutting down and environment
To shutdown and remove an environment completely as to not incur any costs you would need to run a terraform destroy.
terraform destroy
This will destroy all resources defined in the provider so use with caution!! This will include things like KeyVault, Postgres, and so on. You may lose data!!
Advanced Terraform
Targeted Apply
Sometimes you're writing a new module and don't want to make changes to anything else. In this case you can limit what TF changes.
terraform plan -target=module.vpc
In the above example, this will only run a plan (plan/apply/destroy) on the specific module. This can be a module, or resource. You can get a list of module and resources by running terraform show.
VPN Setup
Configure OpenVPN clients for Azure VPN Gateway About P2S VPN client profiles Configure a VPN client for P2S OpenVPN protocol connections: Azure AD authentication (Preview) Create an Azure Active Directory tenant for P2S OpenVPN protocol connections
The docs above should help with client configuration. The last doc (Create an Azure Active Directory..) is necessary to run the command to add the VPN app for AD.
Copied here for convenience. Just enter this in your browser.
# For Public Azure - Government has a different URL, see doc above
https://login.microsoftonline.com/common/oauth2/authorize?client_id=41b23e61-6c1e-4545-b367-cd054e0ed4b4&response_type=code&redirect_uri=https://portal.azure.com&nonce=1234&prompt=admin_consent
Adding a client
TODO
Downloading a client profile
TODO
Quick Steps
Copy paste (mostly)
Register Preview features See Registering Features
Edit provider.tf and turn off remote bucket temporarily (comment out backend {} section)
provider "azurerm" {
  version = "=1.40.0"
}

provider "azuread" {
  # Whilst version is optional, we /strongly recommend/ using it to pin the version of the Provider being used
  version = "=0.7.0"
}

terraform {
  #backend "azurerm" {
    #resource_group_name  = "cloudzero-dev-tfstate"
    #storage_account_name = "cloudzerodevtfstate"
    #container_name       = "tfstate"
    #key                  = "dev.terraform.tfstate"
  #}
}
terraform init
terraform plan -target=module.tf_state
Ensure the state bucket is created.
create the container in the portal (or cli). This simply involves going to the bucket in the azure portal and creating the container.
Now is the tricky part. For this, we will be switching from local state (files) to remote state (stored in the azure bucket)
Uncomment the backend {} section in the provider.tf file. Once uncommented, we will re-run the init. This will attempt to copy the local state to the remote bucket.
terraform init
Say yes to the question
Now we need to update the Update variables.tf with the principals for the users in admin_users variable map. If these are not defined yet, just leave it as an empty set.
Next, we'll create the operator keyvault.
terraform plan -target=module.operator_keyvault
Next, we'll pre-populate some secrets using the secrets-tool. Follow the install/setup section in the README.md first. Then populate the secrets with a definition file as described in the following link.
Create service principal for AKS
az ad sp create-for-rbac
Take note of the output, you'll need it in the next step to store the secret and client_id in keyvault.
This also involves using secrets-tool. Substitute your keyvault url.
secrets-tool secrets --keyvault https://ops-jedidev-keyvault.vault.azure.net/ create --key k8s-client-id --value [value]
secrets-tool secrets --keyvault https://ops-jedidev-keyvault.vault.azure.net/ create --key k8s-client-secret --value [value]
Next we'll apply the rest of the TF configuration
terraform plan # Make sure this looks correct
terraform apply
Then we need an instance of the container
Change directories to the repo root. Ensure that you've checked out the staging or master branch:
docker build . --build-arg CSP=azure -f ./Dockerfile -t atat:latest
Create secrets for ATAT database user
Change directories back to terraform/secrets-tool. There is a sample file there. Make sure you know the URL for the aplication Key Vault (distinct from the operator Key Vault). Run:
`secrets-tool secrets --keyvault [application key vault URL] load -f ./postgres-user.yaml
Create the database, database user, schema, and initial data set
This is discussed in more detail here. Be sure to read the requirements section.
secrets-tool database --keyvault [operator key vault URL] provision --app-keyvault [application key vault URL] --dbname jedidev-atat --dbhost [database host name] --ccpo-users /full/path/to/users.yml